We all know the feeling of finding the perfect face mask for our weekly routine but as we know, the skin on the different areas of our face is not the same. As a result, we load our shelves with face masks for different concerns, feeling like we need to design a timetable to cover all bases when treating our skin’s needs. *Sigh*, seriously, who has the time?!
That’s where multi-masking, the skincare trend taking over our newsfeeds, comes in.
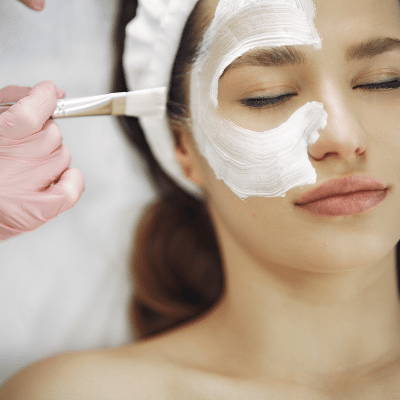
Think of multi-masking like segmenting your face into individual concerns. Completely bespoke to what your skin needs in that very moment, multi-masking is the art of applying multiple face masks at once, to only the areas that need those ingredients the most. For example, our t-zone might experience oiliness that needs refining whereas the skin around our eyes or lips might be craving extra firming or hydrating goodness.
If you’ve ever had a professional skin treatment before, it’s likely you’ve given multi-masking a test run without even realising! A method of acutely targeting individual skin concerns, multi-masking brings a top tier self-care moment right into your own bathroom.
If there’s one thing we can’t get enough of, it’s making our skincare routine work both harder and smarter for us and multi-masking ticks all the boxes! After identifying your skin type and concerns, grab your favourite products and let’s get multi-masking. Here’s our easy-to-follow steps to introduce this amazing skincare secret into your routine.
Step one: prep your skin
Like any good facial, your treatment should begin with a thorough cleanse and exfoliation. Not only does this give your face masks a clean canvas to work on but the exfoliation will allow their targeted ingredients to penetrate deeper into the skin, where it can actually make change.
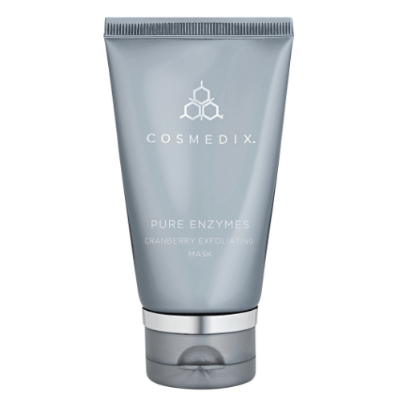
Your skin prep can kick your strong mask game off early by applying a quick enzyme exfoliation mask to your skin. Left on the skin for 3-5 minutes, the Cosmedix Pure Enzymes mask is the scrub-free exfoliation that’ll get your skin oh-so-ready for multi-masking. Celebrating ingredients like cranberry enzymes and lactic acid, this exfoliating mask will improve skin texture, work on unclogging pores and provide exceptional support against free radical damage. Once washed off, your skin is perfectly prepped to begin multi-masking.
Step two: apply your longest duration mask first
It’s essential that you’re strategic when applying your masks to ensure you’re giving them the adequate time they need to work. This is why we suggest applying the products that require the longest wear time first. This is often clay-based masks that are designed to support oil flow, breakouts and congestion. If these are one of your key concerns, go ahead and apply your mask to your t-zone, chin and anywhere you experience unwanted congestion.
We recommend the Grown Alchemist Deep Cleansing Masque as it only requires 10-15 minutes to work its deeply purifying magic. Harnessing the likes of Wheatgerm and White Clay, this mask draws out impurities within the skin to reduce oil flow, sebum production and toxins. Clay-based masks are ideal for multi-masking routines as the clay acts like a magnet to impurities within the skin. When applied first, it has the most time to detoxify the skin and leave those areas of concerns feeling purified.
Step three: firm and brighten where needed
Next, it’s time to treat areas of your skin that require extra firming, brightening or nourishment. For many, this is the cheeks and around the eye area. Multi-masking gives these areas the focused care they deserve, especially the delicate eye area that does not require the deep detoxification from clay-based masks. If you experience redness or sensitivity, this is where your calming masks come in.
This step in your multi-masking treatment is a brilliant opportunity to target any signs of ageing on your neck and chest too. These areas are often neglected but also require firming support from our skincare products.
The ultimate all-rounder, our Skin Matrix Platinum Peptide Mask delivers brightening, firming and nourishing benefits to the skin. Peptides are a must when addressing the signs of ageing, encouraging cell regeneration and improving skin texture and this 10-minute mask delivers them in abundance.
Step three: bring the spa-like feel to your treatment
If you’ve ever wondered how, you can make your at-home skin treatment even more luxurious, an eye or lip mask is a great place to start. Fitting the multi-masking brief perfectly, an eye or lip mask gives a boost of hydrating and plumping to these unique areas. Often two of the first places to show the signs of ageing, multi-masking gives focused attention to these areas to reduce the appearance of deflation, wrinkles, creping or dullness. We recommend looking for masks rich in ingredients like Hyaluronic Acid, Snap-8 and/or Peptides to achieve the ultimate plumped and hydrated result.
Step four: rinse off
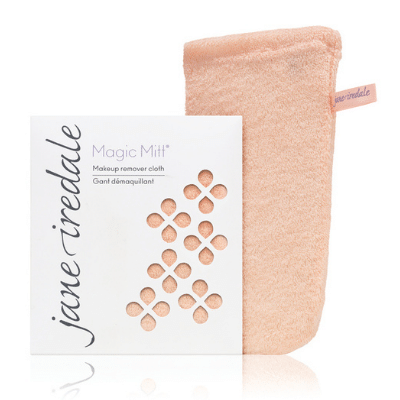
You might be thinking ‘duh, of course we have to rinse off the masks’ but it’s important to note how you rinse them off. We recommend using a gentle cleansing cloth rather than your everyday face towel (which can be a little too harsh) to avoid unwanted exfoliation or disruption to the skin. Warm water is particularly helpful for removing clay-based masks but ensure your rinsing water isn’t scorching hot, especially if you’ve just treated skin sensitivity.
Step five: get up and glow
Just like that, you’ve completed your multi-masking treatment! It’s remarkable how many skin concerns we’ve been able to treat in under 30-minutes, right?! That’s the power of multi-masking and saving your time and product for where it counts most.
Once your masks have been effectively removed, we recommend finishing with your regular hydrating moisturisers and if during the day, sun protection.
Have you tried multi-masking before? A trend that shows no signs of slowing down anytime soon, we can’t wait for you to give it a glow. Love what you’ve read? Shop all skin-loving products featured in today’s blog via our Skin Matrix store.


 Webential